


By Elias Shekh Writes the guides on this blog and builds the tools they describe.
How to Resize, Convert, and Compress Images for the Web Without Losing Quality
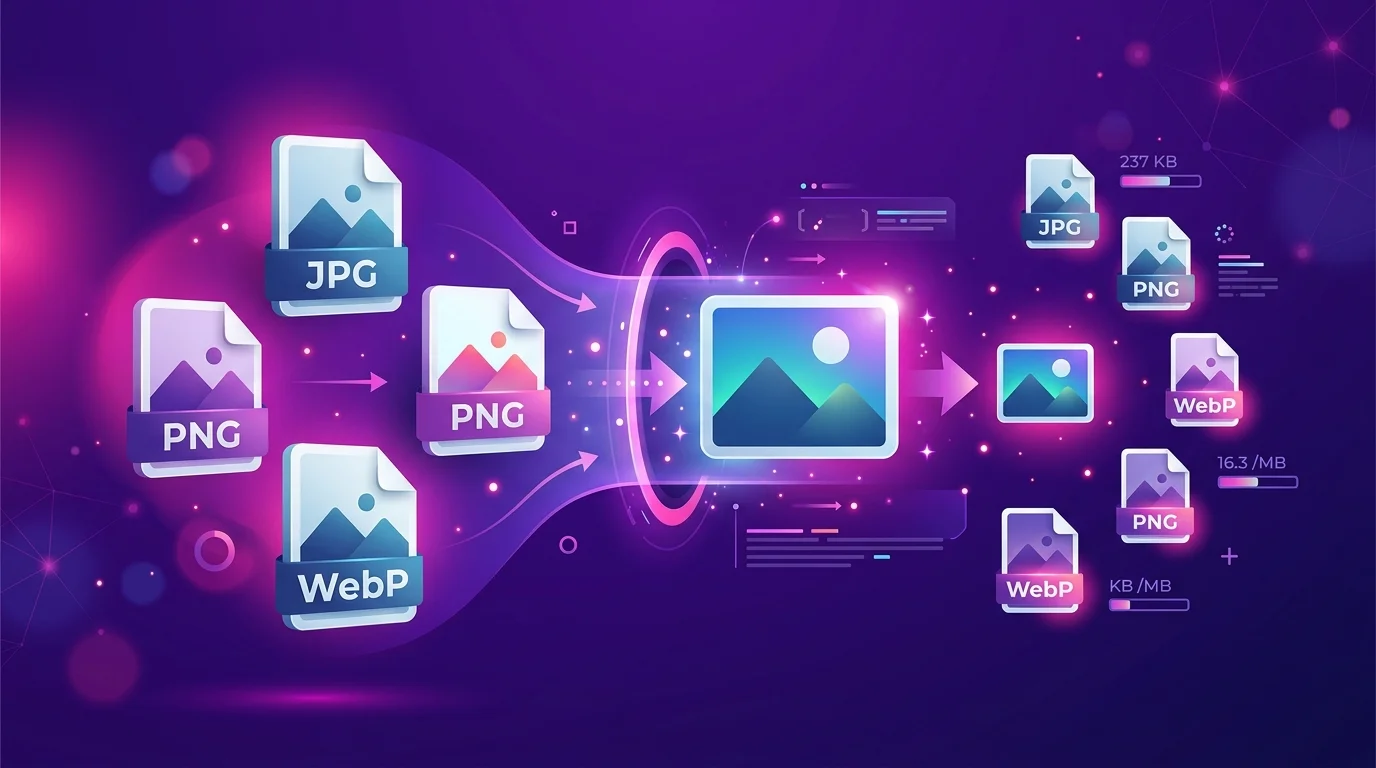
Every image on the web has to answer three questions: what size should it be, what format should it be saved in, and how much can it be compressed before it looks bad? Get any one of those wrong and you either ship a page that loads slowly or an image that looks noticeably worse than it needs to. This guide covers how to answer all three without guesswork.
Picking the right dimensions
The biggest, most common mistake is uploading an image at its original camera or screenshot resolution — often 3000px+ wide — when the space it's displayed in is a few hundred pixels. That extra resolution does nothing for visual quality on screen; it only adds load time.
- Resize images to roughly the largest size they'll actually be displayed at, accounting for retina displays (about 2x the visible size).
- Crop before resizing when the subject only fills part of the frame — cropping first means you're not wasting resolution on background you're going to cut anyway.
- Keep the aspect ratio locked unless you specifically want to stretch or squash the image (you almost never do).
Choosing a format
Format choice depends entirely on what's in the image:
- JPG — best for photos and complex images with lots of color gradients. Lossy compression, small file sizes, no transparency.
- PNG — best for screenshots, logos, and graphics with sharp edges or transparency. Lossless, but larger files for photographic content.
- WebP — a modern format that generally beats both JPG and PNG on file size at equivalent quality, with broad browser support today. A safe default when you're not sure.
Converting between these is often necessary when a platform only accepts one format, or when you've realized a PNG screenshot is ten times larger than it needs to be as a JPG.
Compressing without visible quality loss
Compression is where most of the file-size savings actually come from — often more than resizing alone. The trick is compressing enough to shrink the file meaningfully without introducing visible artifacts like blocky patches or color banding.
- Start around 75–85% quality for JPG/WebP — this is usually indistinguishable from the original at normal viewing sizes.
- Compare the compressed and original images at 100% zoom, not just as thumbnails, before publishing anything customer-facing.
- For PNGs, look for a compressor that reduces the color palette intelligently rather than one that just recompresses — this is where the biggest PNG savings happen.
Base64: when you need an image inline
Converting a small image to Base64 embeds it directly inside HTML, CSS, or JSON instead of linking to a separate file. This is useful for tiny icons or when an API requires images inline rather than as file uploads — but it's a poor fit for anything larger than a few kilobytes, since Base64 encoding inflates file size by roughly a third and prevents the browser from caching the image separately.
A practical checklist before you publish
- Resize to the actual display size (accounting for retina).
- Pick JPG for photos, PNG for graphics/transparency, WebP if you're unsure.
- Compress and visually compare before and after.
- Only use Base64 for small, inline-necessary assets.
Running through these steps takes a couple of minutes per image, and it's the difference between a page that feels instant and one that visibly loads image-by-image as visitors scroll.